Wednesday, August 31, 2005
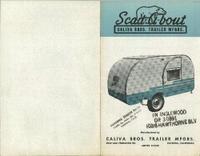
Our 1965 Scad-A-Bout Teardrop Trailer Restoration Project.

After watching a TV program on PBS on TEARDROP TRAILERS, hosted by Huell Howser, we decided to start our hunt to locate one. I started going on-line and discovered one for sale. We went to Santa Ana, California, and under a car port sitting for over 20 years we found what would become our 1965 Scad-A-Bout Teardrop Trailer. Regardless of it very poor condition , it was even missing the complete rear hatch assembly we decided to buy it. The man who sold it to us, knew nothing about the trailer, he told us that it had belonged to a friend, and after not seeing him for so many years he asked the friend for the pink slip so he could rid himself of the trailer.
We loaded it onto a trailer and hauled it back to our house thought I would just make repair, and take it out of our first camping trip. On-line I met a man who restore and remanufacture teardrop trailers and he came from the desert to take a look at ours to offer his opinion. First thing he said was he had never seen one like ours, [it seems to be a rare longer 4 window model]
Dave told me that he thought that it had water damage, and if it was him he would completely restore it.
So being we we in no hurry to take the trailer out, we decide to strip it completely down and start the restoration project. I had never attempted anything like this before and have no experience restoring anything before.
After stripping the trailer down, I took the trailer to the local Big Tex trailer shop and had the trailer extended and had a new hitch installed.
Tuesday, August 30, 2005
The Strip down
Roof removed ribs exposed
With the roof off the ribs that support the sides can be seen. to the rear you can see a part of the galley.
Monday, August 29, 2005
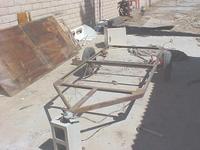
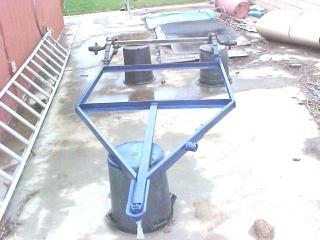
Started on frame
Sunday, August 28, 2005
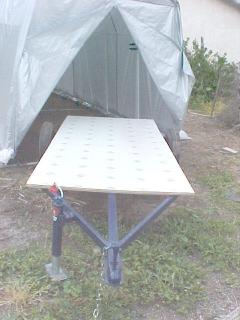
Portable Teardrop Shelter and floor covering
Doors Started
Sides complete
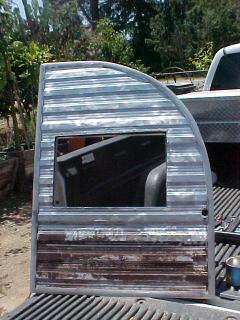
Side Skins installed and paint stripping begins
My first major error, because I was worried about damaging the original aluminum skins, I installed them on my new sides, without thinking about how I was going to attach them onto the floor. But with help of those from a teardrop discussion board, I decided to change my installing plans, than risk further damaging the sides, I begin the stripping of the paint. In the second photos you can see that I have about 3/4 of the area stripped down to bare metal.
First coat of paint
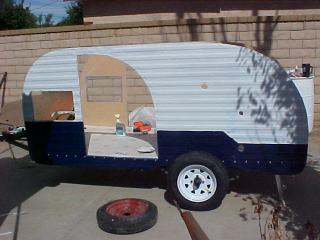
FRIST COATS OF BLUE
Almost look like something now
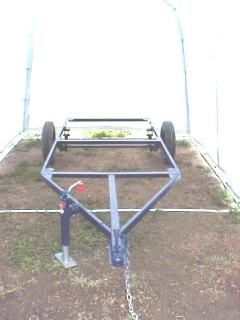
THE FULTON STABILIZER JACKS INSTALLED
Spars

 Got the spars [8] installed today, 1st I framed the fantastic fan area, and then I spaced the balance of the spars approx 14 “ on center, using 1”x 2” poplar, I slotted the sides to accept the spars and applied gorilla glue then sunk a stainless steel 1 3/4 screw. Tomorrow, I hope to cut the cabin head liner and begin the installation. I still must install a 2’X2” spar at the base of the cabin near the tongue and another one at the area where I will be installing the galley hatch.
Both sides goes on.


The right side is installed, with right tire and wheel. I am told now that the sides are finally on the fun begins, it is hard to understand because I must now start thinking about building the hatch lid.
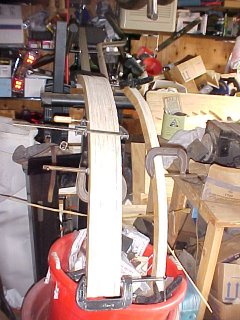
My next step will be to cut the headliner, then I will cut the ribs, that holds the sides together, and supports the roof.
Headliner and bulkhead installed


So I stalled another spar making the grand total of 9, at the base of the front of the tear, then installed the forward headliner, 1/8th birch luan, [what a bi**ch,] then I also installed the galley bulkhead, which I will have to remove when I begin tracing the ribs of the hatch. The luan was not as bendable as I was told it would be, but I made it work, I was unable to install it in the manner I was hoping to, but overall I think things turned out okay.
Fenders Installed
 Now I have to start making the galley Hatch Door, I can not get out of it anymore.
Both fenders are installed onto the sides. It seems that the Navy Blue paint on the metal fenders and the same paint on the aluminum sides do not match up. I hope that once I add the sealer and buff them up they will blend to appear the same.
more progress
Subscribe to:
Comments (Atom)


